For many, the coffee machine is the cornerstone of the morning routine. Yet, while we carefully select beans and measure grounds, one critical component often goes neglected: the water tank. This dark, damp reservoir is the perfect breeding ground for mould, bacteria, and mineral scale, all of which can silently sabotage the flavour of your coffee and the lifespan of your machine. Regular cleaning isn’t just about aesthetics; it’s fundamental to appliance maintenance and your health. This comprehensive guide will walk you through everything you need to know about cleaning your coffee machine’s water tank, ensuring every cup is as fresh and clean as the first.
Why Cleaning Your Water Tank Is Non-Negotiable
You might rinse the carafe and replace the filter, but the water tank requires special attention. It’s the starting point for every brew, and any contamination here flows directly into your cup. Neglecting it leads to several problems:
-
Compromised Taste and Aroma: Old coffee oils, mineral deposits (limescale), and microbial growth impart bitter, sour, or “off” flavours that no amount of fresh coffee can overcome.
-
Health Concerns: A warm, wet, and dark environment is ideal for mould and bacteria. While not particularly dangerous, these can cause unpleasant odours and are best avoided in something you consume daily.
-
Machine Damage and Inefficiency: Limescale buildup from hard water can clog internal tubes and heating elements. This forces your machine to work harder, leading to longer brew times, strange noises, and even premature failure.
-
Shortened Appliance Lifespan: Consistent maintenance, including tank cleaning, is key to protecting your investment and ensuring your machine operates optimally for years to come.
Recognising the Signs: When Your Tank Needs Cleaning
Don’t wait for visible sludge to appear. Your coffee machine will give you clear signals that it’s time for a clean:
-
The coffee tastes strange, becoming noticeably bitter, sour, or simply less flavorful than it used to be.
-
You detect a musty or foul odour coming from the water reservoir or brew basket.
-
The brewing cycle takes longer than usual to complete.
-
You hear unusual gurgling or screeching sounds during operation.
-
You see visible residue, discolouration, or floating particles in the water tank.
If you notice any of these signs, it’s time to start cleaning.
Your Step-by-Step Cleaning Toolkit and Preparation
Before you begin, gather your supplies. You likely have most of them at home.
What You’ll Need:
-
White Distilled Vinegar or Lemon Juice: Natural acids that dissolve mineral scale and disinfect.
-
Mild, Fragrance-Free Dish Soap: For washing removable parts.
-
Clean, Soft Cloths or Non-Abrasive Sponges: Microfiber cloths are excellent for reaching inside tanks.
-
A Small, Flexible Brush (like a bottle brush or a hard-bristle flex brush): Essential for scrubbing corners and tubes inside the tank.
-
Fresh Water for rinsing.
-
Optional: Commercial descaling solution formulated for coffee makers.
Crucial First Step: Always unplug your coffee maker before starting any cleaning procedure to avoid the risk of electric shock.
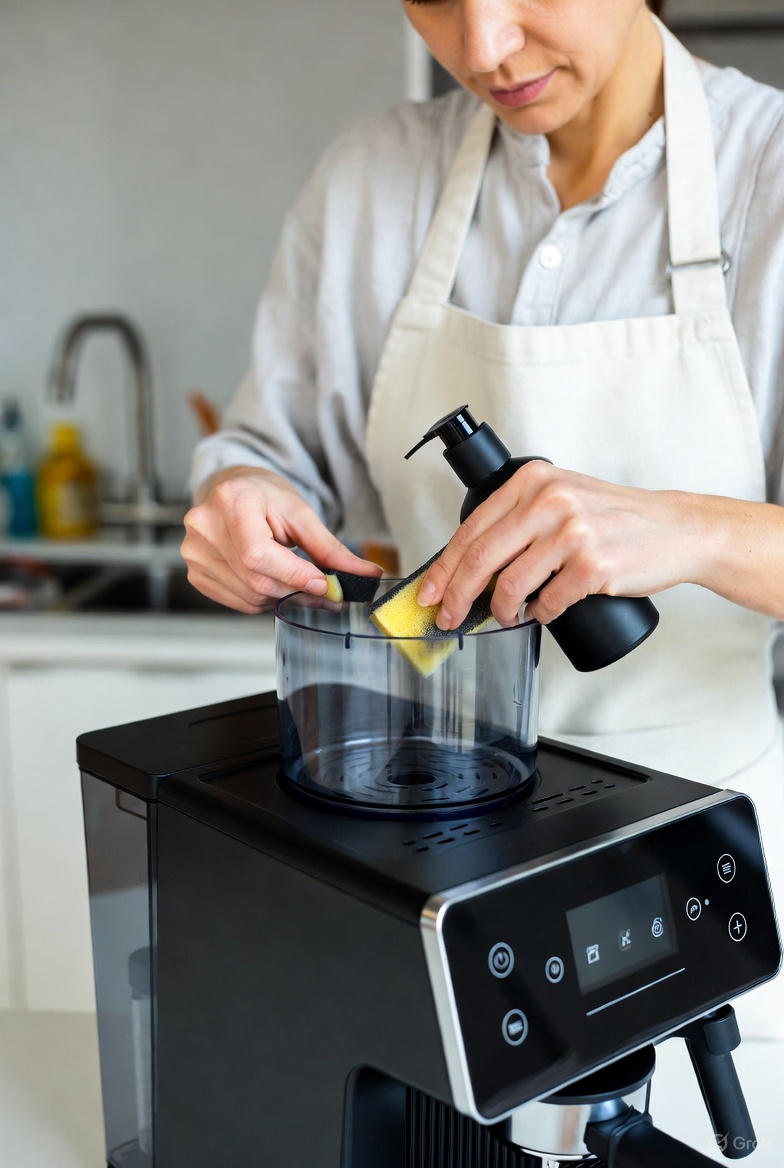
How to Clean a Removable Water Tank
Most modern coffee makers have a tank you can lift out, which makes for the most thorough clean.
-
Remove and Empty: Remove the water tank from the machine and pour out any remaining water.
-
Hand Wash: Wash the tank with warm, soapy water and a non-abrasive cloth or sponge. Use your flexible brush to gently scrub the interior walls, corners, and any internal tubes. Be careful around any protruding parts to avoid damage.
-
Disinfect and Descale (Monthly): For a deeper clean, mix equal parts white vinegar and warm water. Pour it into the tank, swish it around to coat all surfaces, and let it soak for 15-20 minutes. This breaks down stubborn scale and kills microbes.
-
Rinse Thoroughly: Empty the vinegar solution, then rinse the tank multiple times with fresh water until no vinegar smell remains. Incomplete rinsing is a common mistake that leads to bad-tasting coffee.
-
Dry Completely: Dry the tank thoroughly with a clean cloth and allow it to air-dry completely before reinserting it into the machine. This step is vital to prevent new mould growth.
How to Clean a Non-Removable (Built-In) Water Tank
If your tank is fixed, you’ll clean it using the machine’s brewing cycle.
-
Prepare the Machine: Ensure the carafe is clean and in place. Remove any charcoal water filters from the reservoir.
-
Create and Run Cleaning Solution: Fill the water tank with a mixture of half white vinegar and half water (or follow lemon juice/baking soda alternatives below). Start a brewing cycle as if making coffee, but stop it before the cycle completes (about halfway). Let the hot vinegar solution sit in the tank and internal pipes for 15-30 minutes to descale.
-
Complete the Cycle and Rinse: Finish the brewing cycle. Pour out the vinegar water from the carafe. Then, run one to two complete cycles of fresh, clean water through the machine to eliminate any residual vinegar taste.
-
Air Dry: Leave the tank lid open for a few hours to allow the interior to dry out thoroughly.
Natural Cleaning Alternatives to Vinegar
If you dislike the smell of vinegar, you have effective alternatives:
-
Lemon Juice: Mix 1 cup of lemon juice with 1 cup of water, then run it through the cleaning cycle as described above.
-
Baking Soda: Mix ¼ cup of baking soda with one cup of water. The mild abrasive and deodorising properties make it well-suited for cleaning.
Creating a Proactive Cleaning Schedule
Consistency is more manageable than tackling heavy buildup. Here’s a simple schedule based on usage:
| Task | Frequency | Key Reason |
|---|---|---|
| Rinse with Fresh Water | After each use | Removes standing water and loose residue. |
| Wipe the Interior with a Dry Cloth | Weekly | Prevents moisture accumulation and mould. |
| Complete Tank Clean with Soap & Brush | Monthly | Removes oils and biofilms; disinfects. |
| Deep Descale with Vinegar/Lemon | Every 1-3 months | Dissolves hard mineral scale from water. |
| Check Manufacturer’s Guide | Before the first clean | Ensures you don’t void the warranty or damage parts. |
Adjust for Your Water: If you have hard water (you notice limescale on faucets), you may need to descale every month. With soft or filtered water, you can lean toward the three-month mark.
Common Mistakes to Avoid
-
Using Harsh Chemicals or Abrasives: Never use bleach, undiluted vinegar, or abrasive scrub pads. They can damage plastic, leave harmful residues, and create micro-scratches that harbour bacteria.
-
Skipping the Rinse: Failing to rinse out the cleaning solution thoroughly is a top mistake that will ruin your next pot of coffee.
-
Neglecting to Dry: Always air-dry the tank completely after cleaning. Storing it wet guarantees mould will return.
-
Forgetting Other Parts: The water tank doesn’t exist in a vacuum. For an immaculate machine, regularly wash the carafe, brew basket, and permanent filter with soapy water.
Maintaining Different Types of Coffee Machines
While the water tank is universal, different machines have unique needs.
-
Single-Serve Pod Machines (Keurig-style): These are especially prone to mould due to small, enclosed water pathways. Follow the built-in tank cleaning steps carefully and use the manufacturer’s recommended descaling solution. Never let water sit in the tank for extended periods.
-
Home Espresso Machines: These often have smaller, removable water tanks. Hand-wash the tank weekly and descale the entire machine’s internal boiler system according to the manual (usually every 3-6 months). Always use filtered water to minimise scale.
-
Pour-Over/Drip Machines with Glass Tanks: Be extra gentle when inserting brushes to avoid cracking the glass. The cleaning principles remain the same.
For authoritative information on water quality and its impacts, refer to resources from the U.S. Environmental Protection Agency (EPA). Furthermore, food safety research conducted by institutions such as Cornell University’s College of Agriculture and Life Sciences often provides valuable insights into managing microbial growth in kitchen appliances.
Conclusion: The Key to a Purer Brew
A clean coffee machine is the unsung hero of a great cup of coffee. By integrating these simple coffee machine water tank cleaning guides into your routine, you protect your health, extend the life of your appliance, and most importantly, guarantee the pure, delicious flavour of your coffee beans shines through every single time. It’s a small investment of time for a monumental return in quality. For more practical guides on maintaining your home and appliances, explore the wealth of information available at inspirationfeed.